
Status pages: a public page for your uptime
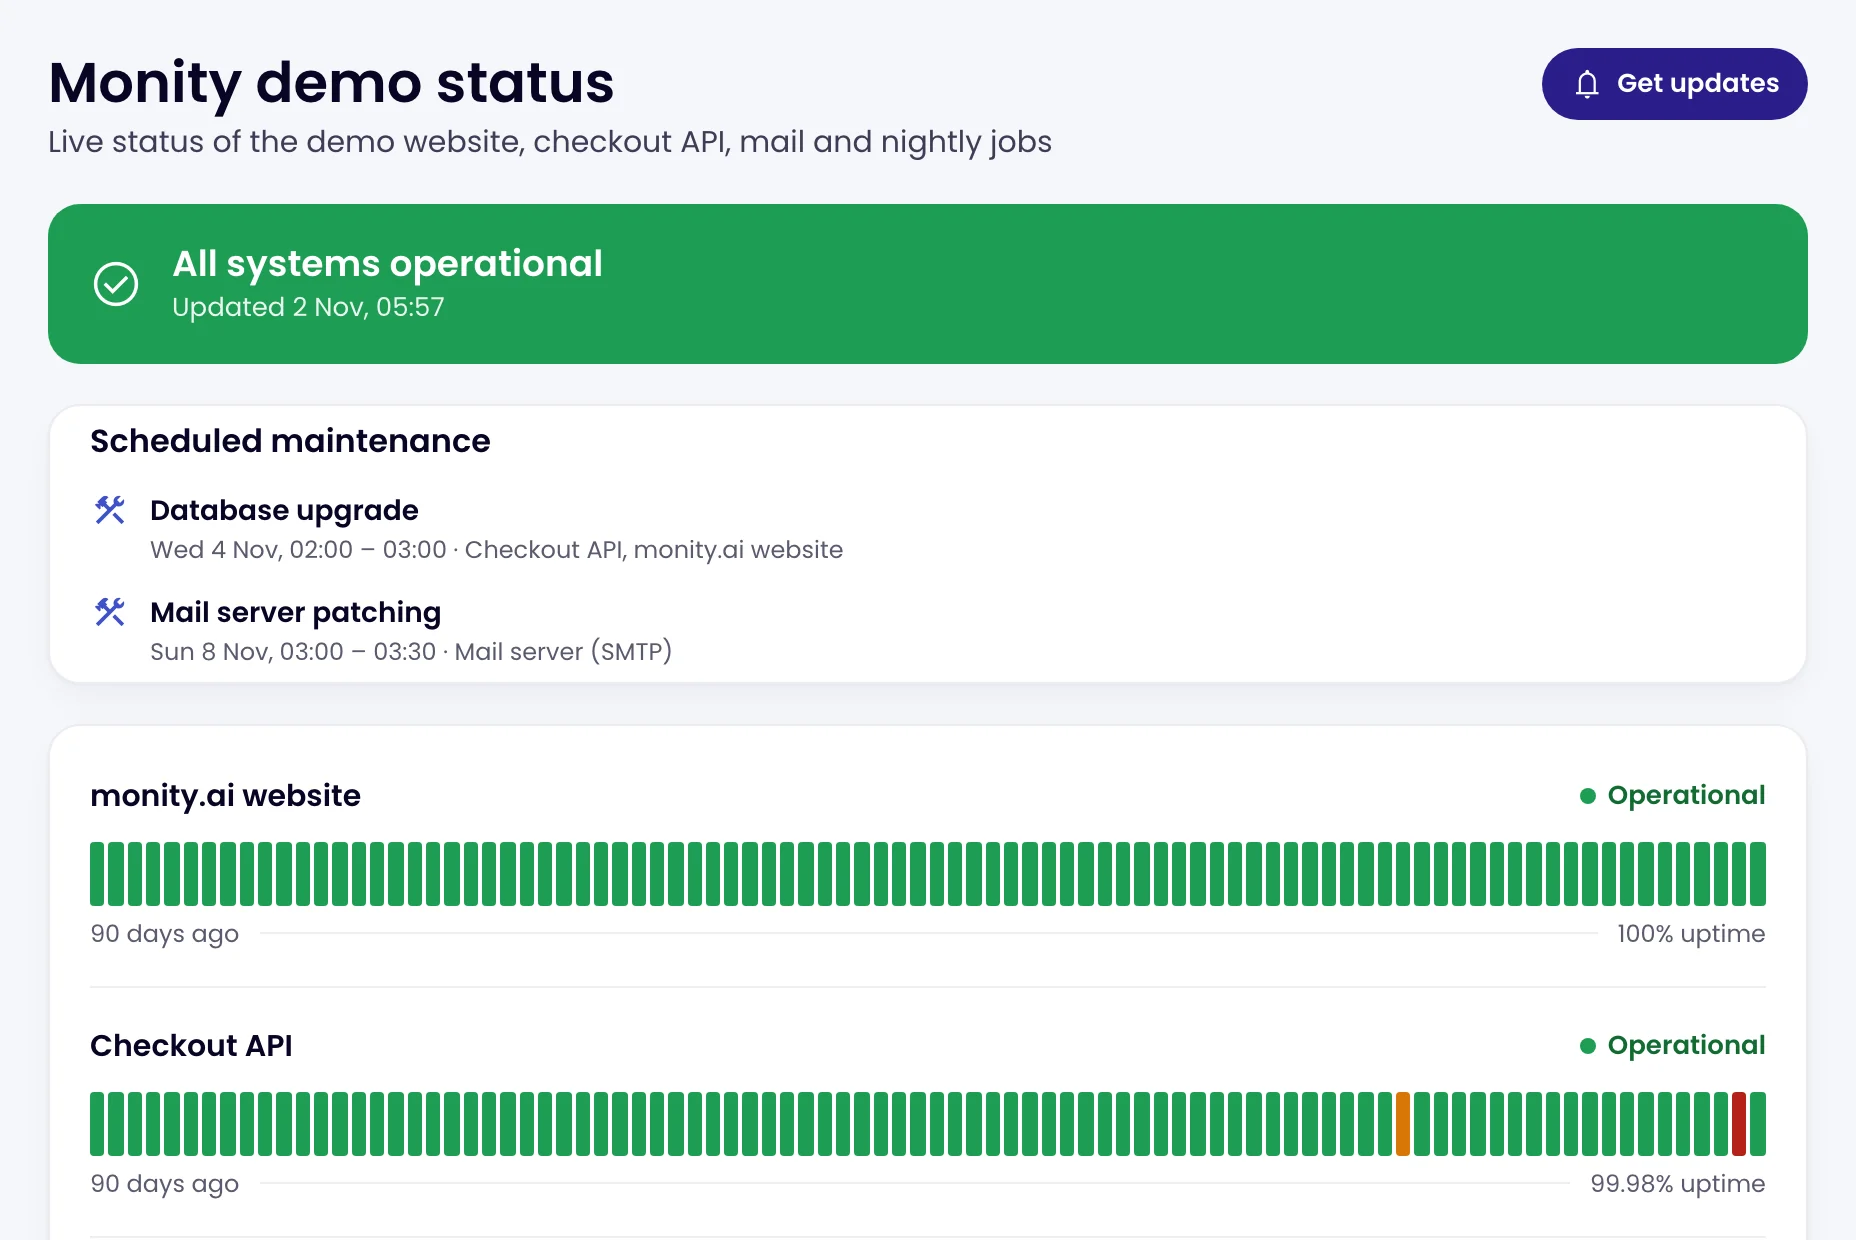
A status page is a public page that shows your customers whether your website, API and services are up, with 90 days of history, your incident updates and planned maintenance. It updates itself from your uptime monitors, and anyone with the link can open it without signing in.
Create a status page
-
Open the Status pages card
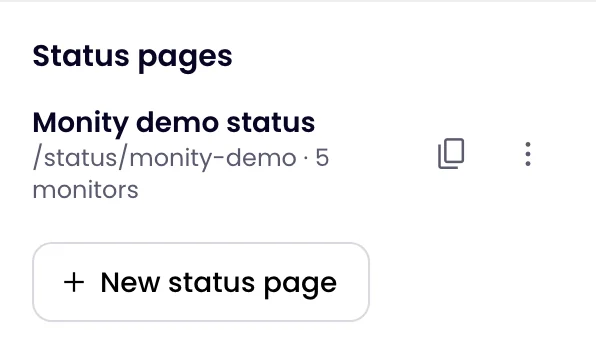
On the Uptime page, find Status pages on the right and click New status page.
-
Name it and choose its address
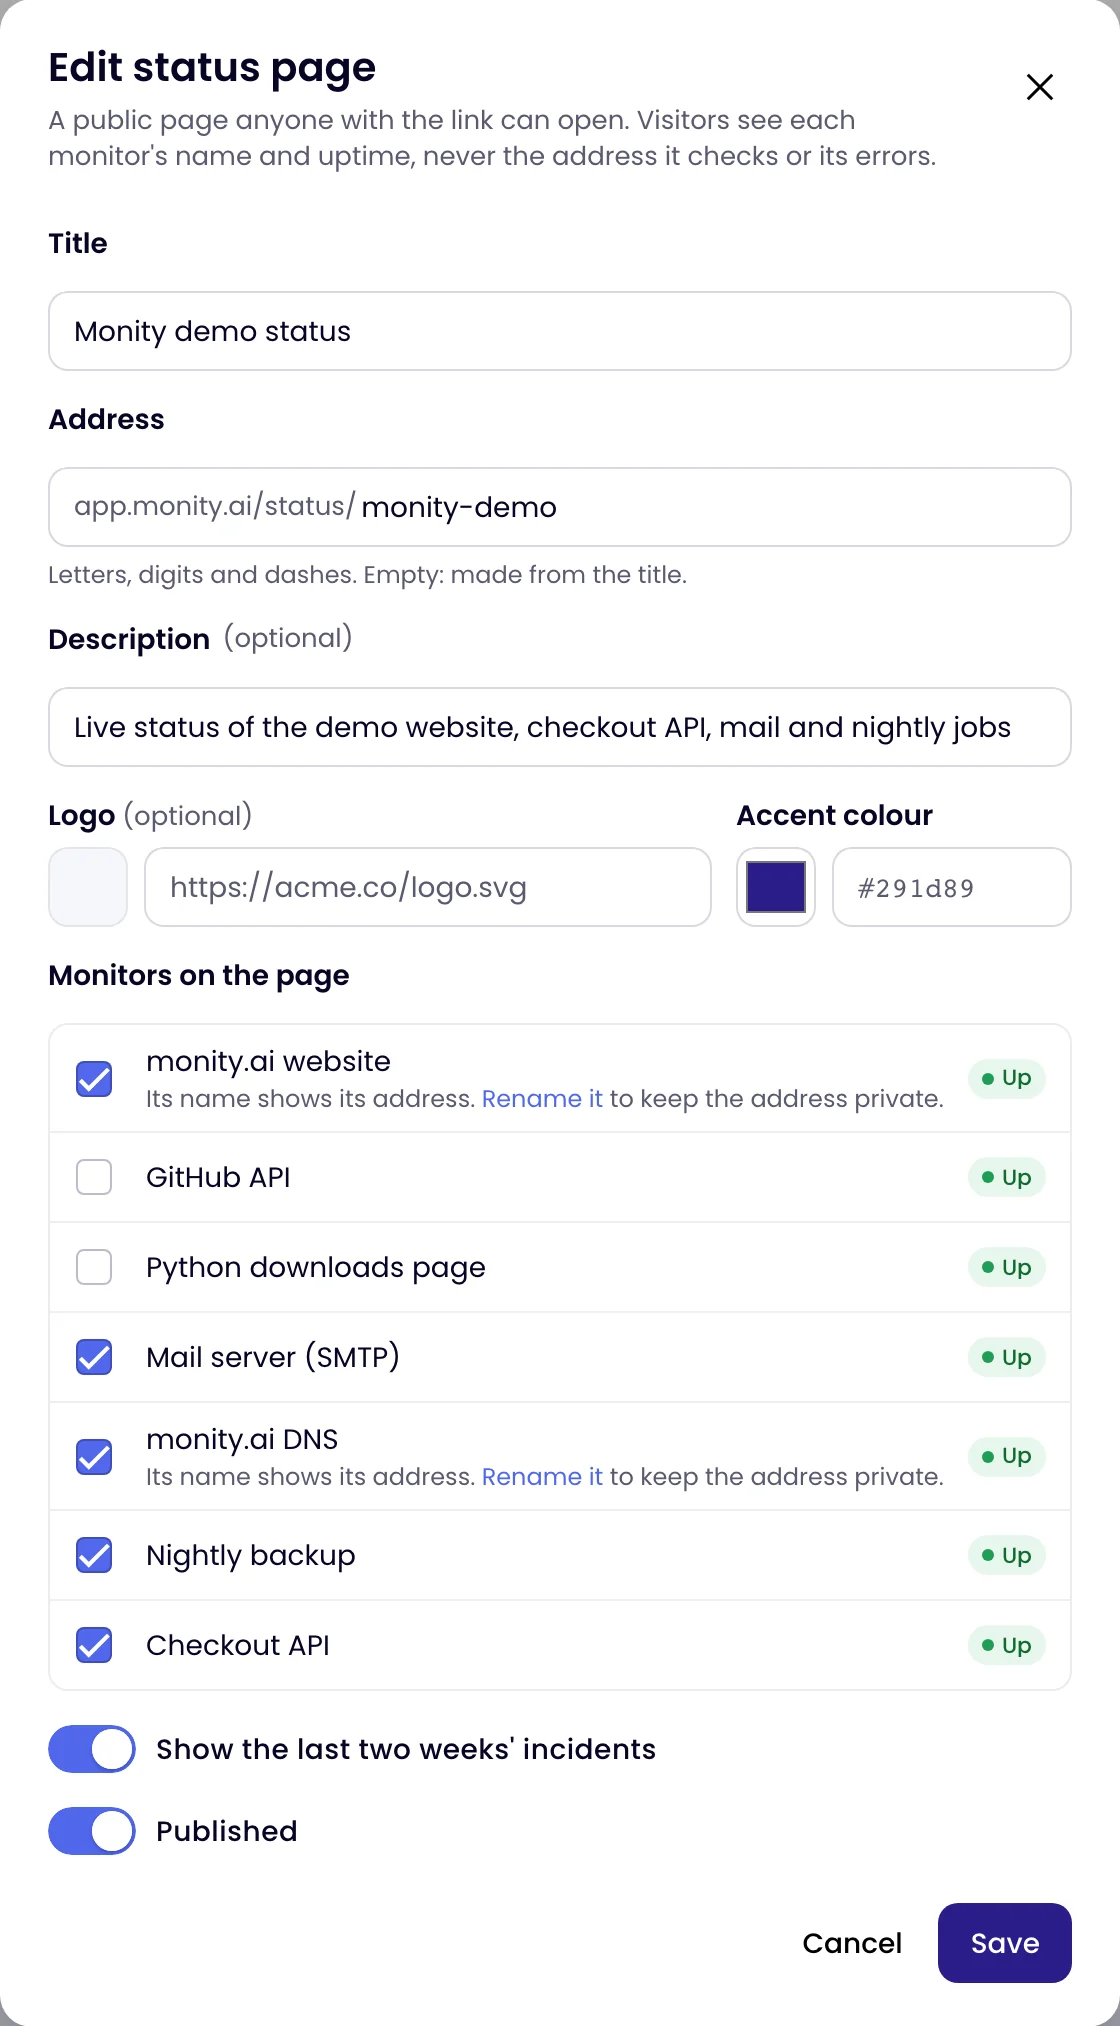
Enter a Title, such as “Acme status”. The Address is
app.monity.ai/status/followed by letters, digits and dashes; leave it empty to make one from the title. An optional Description appears under the title. -
Add your branding
Paste the address of your Logo (an https image) and pick an Accent colour, used for the page’s Get updates button.
-
Pick the monitors to show
Under Monitors on the page, tick the services your customers care about. Visitors see each monitor’s name, so name them for customers (“Checkout”, “API”, “Email”). If a ticked monitor is still named after its address, the dialog warns you and offers Rename it.
-
Create it
Leave Show the last two weeks’ incidents on to list recent outages, then click Create page. Copy the link from the card and put it in your site’s footer, help centre or emails.
An account can have up to 20 status pages, for example one per product or per client. Admins and editors can create and change them.
What visitors see
- The headline: All systems operational only when every monitor on the page answered up. Otherwise Some systems are down, Major outage, Scheduled maintenance in progress or Some systems are not reporting.
- Your news: open incident and maintenance posts with their updates.
- Scheduled maintenance in the next 7 days, with the monitors it affects.
- Each monitor: Operational, Down, Maintenance or No data (a monitor out of credits or without a recent result), with a bar for each of the last 90 days and its 90-day uptime.
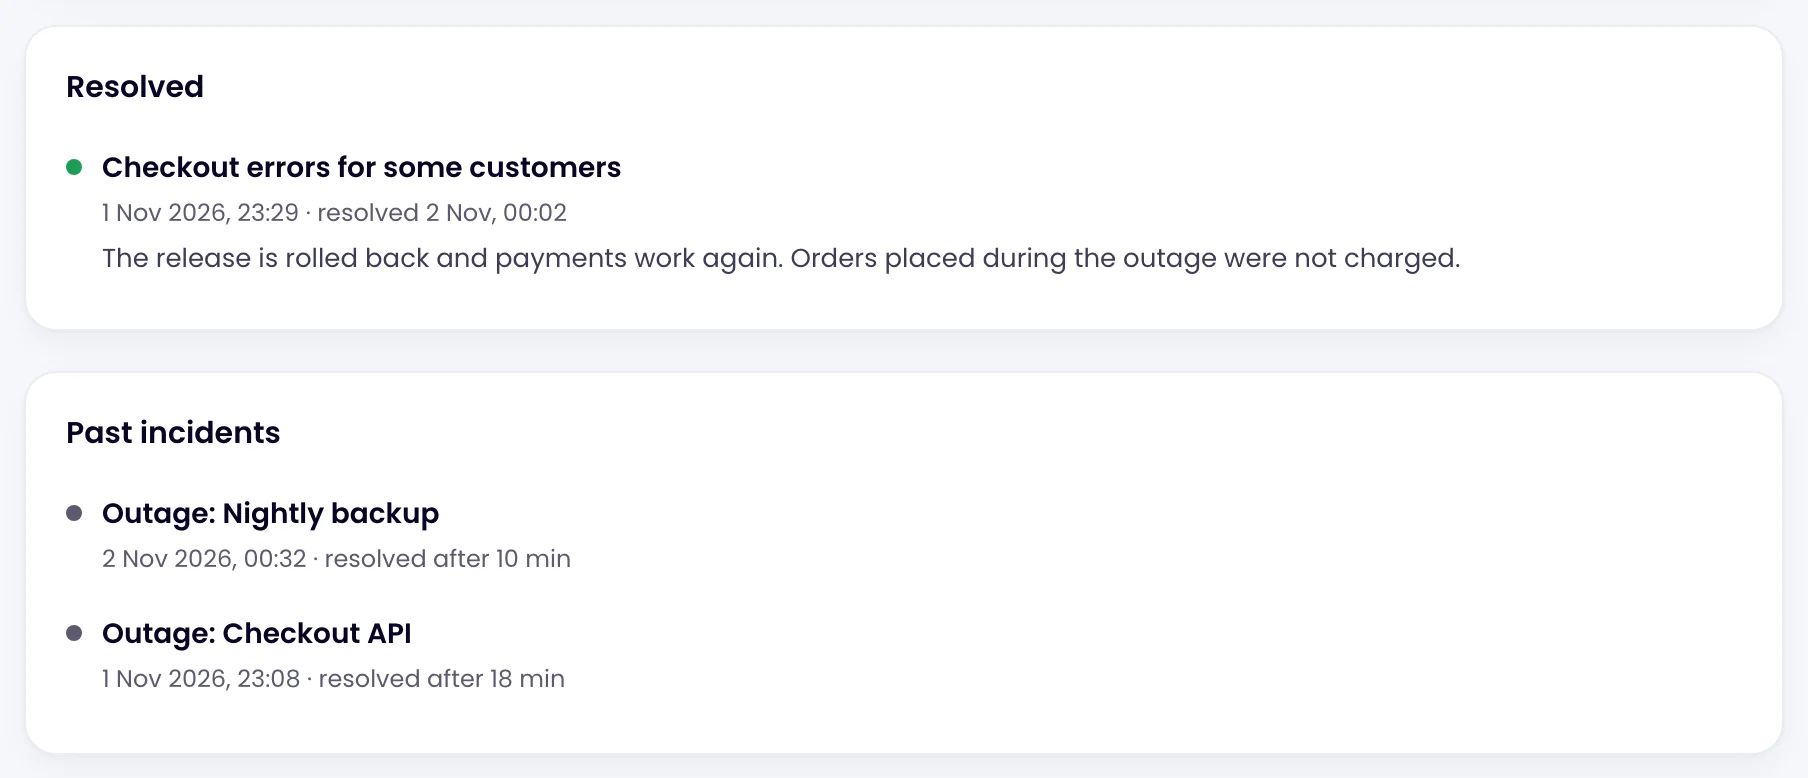
- History: resolved posts of the last 14 days and, if you chose, the last two weeks’ incidents with their start and duration.
Visitors never see the address a monitor checks, its errors or its response times. The page refreshes every minute.
Post an incident or maintenance
The monitors show what is down. Posts say what you know and what you are doing about it.
-
Open News and updates
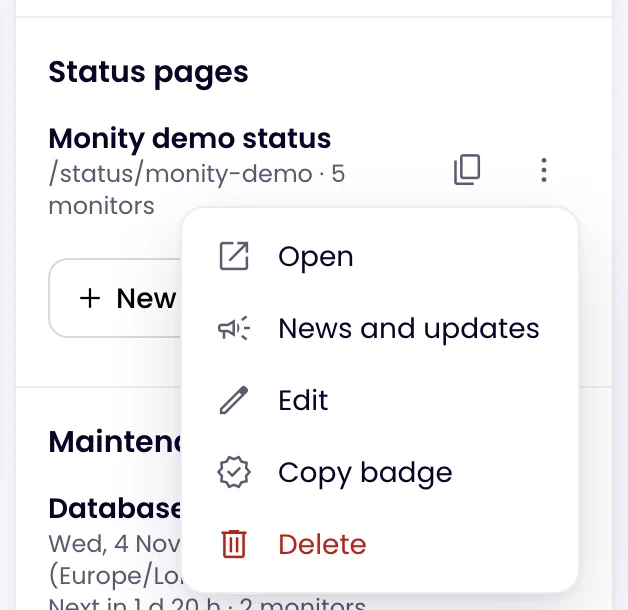
In the Status pages card, click ⋮ next to the page and choose News and updates.
-
Write the post
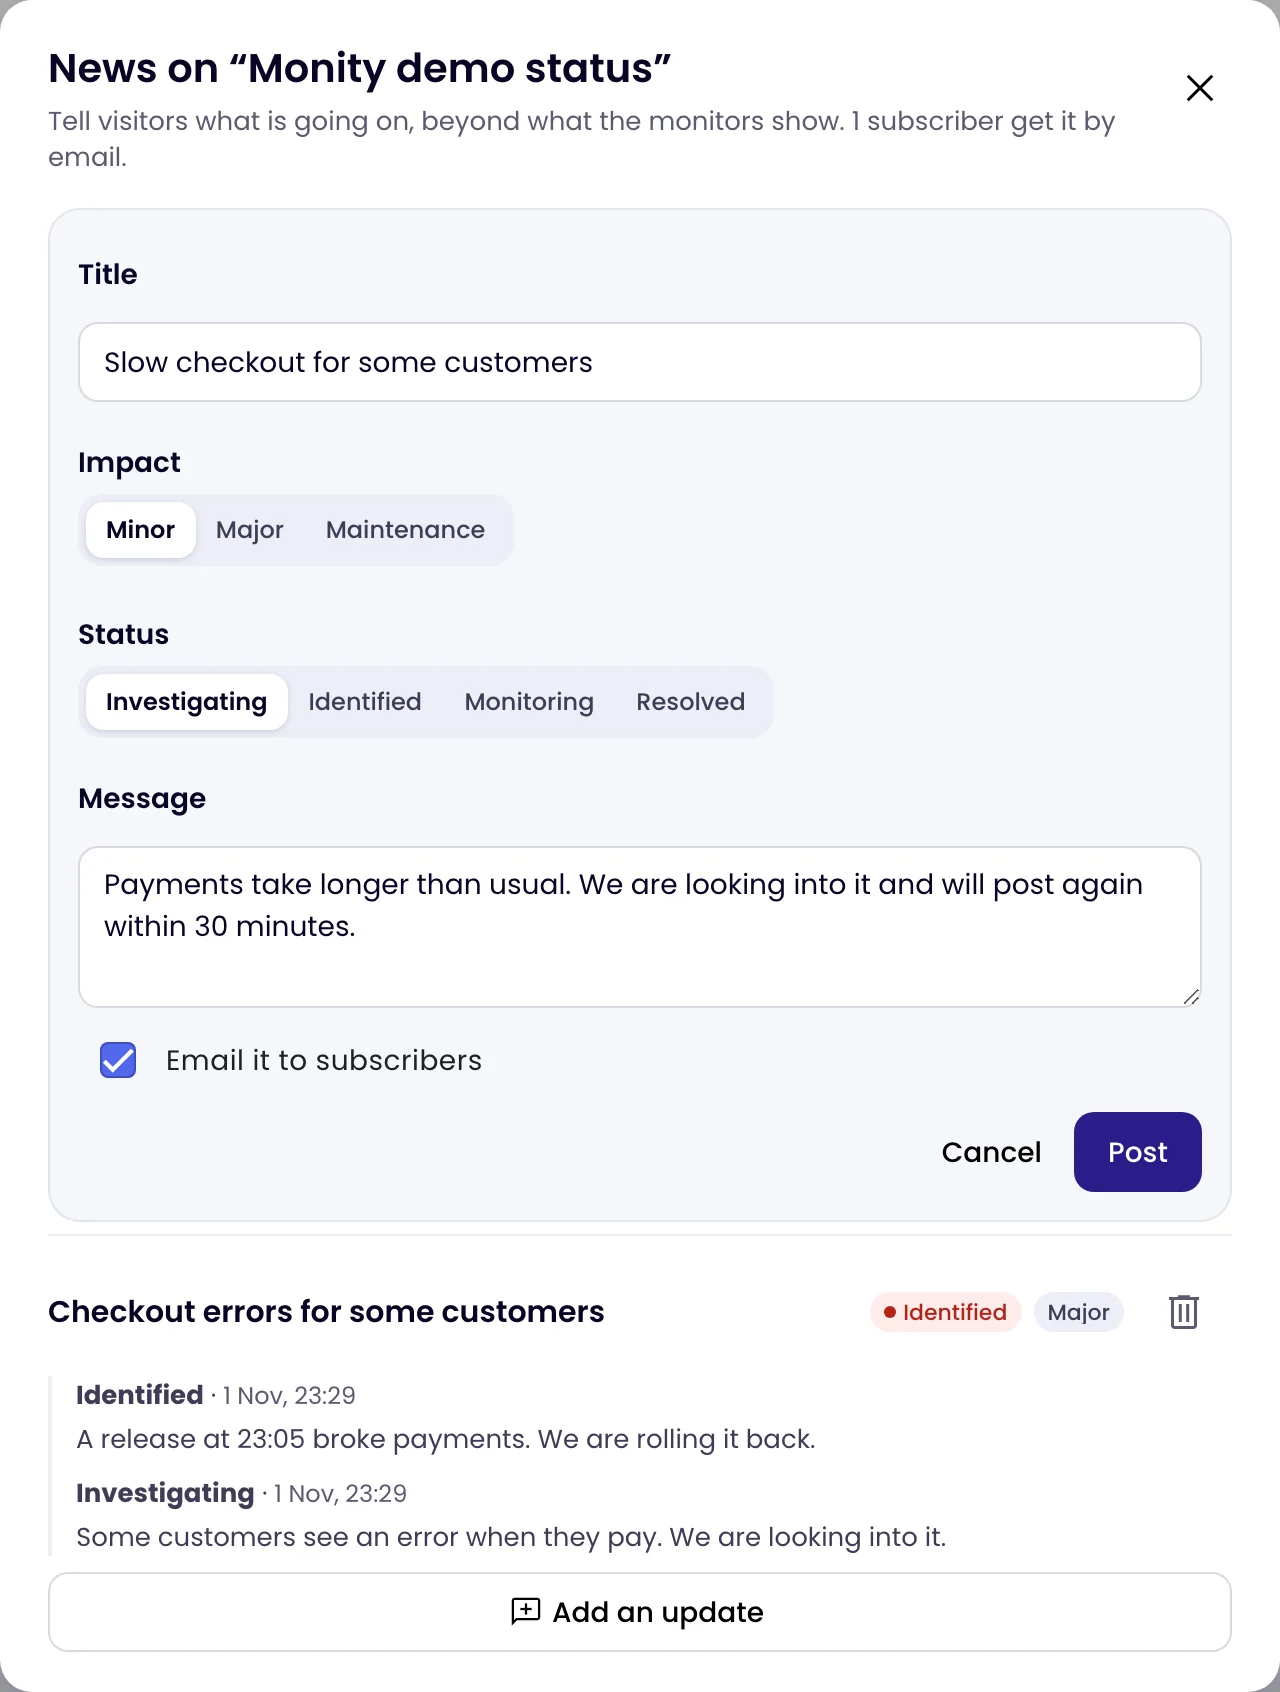
Click Post an incident or maintenance. Enter a Title, choose the Impact (Minor, Major or Maintenance) and the Status (Investigating, Identified, Monitoring or Resolved), and write the Message. Tick Email it to subscribers to send it to everyone who subscribed. Click Post.
-
Update it until it is resolved
Click Add an update under the post, choose the new status and say what changed. A post set to Resolved moves to the page’s history.
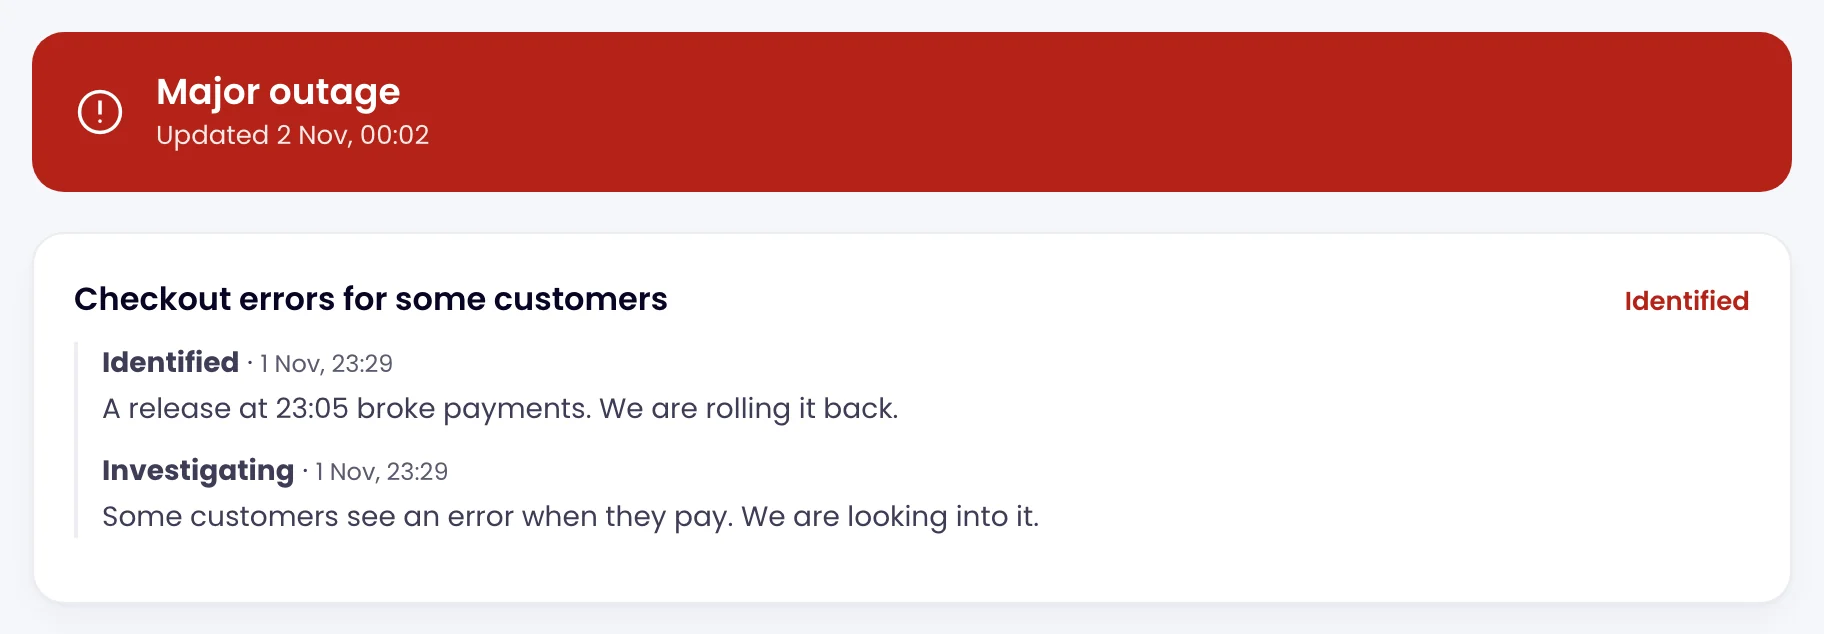
While a post is open, the page’s headline is at least as serious as its impact: Major shows Major outage, Minor shows Some systems are down and Maintenance shows Scheduled maintenance in progress. A post never makes the headline look better than the monitors.
To show planned work without writing a post, schedule a maintenance window: the page lists it for the week before.
Email subscribers
Visitors click Get updates on the page and enter their email address. They get a confirmation email first, and nothing else until they click it. After that they receive the posts and updates you send with Email it to subscribers, each with a one-click unsubscribe link. Subscribers are not emailed automatically when a monitor goes down or comes back: only your posts reach them. The News dialog shows how many confirmed subscribers a page has, up to 20,000 per page.

Status badges
Click ⋮ next to a page and choose Copy badge to copy Markdown for a badge that shows the page’s state live, for a README or a footer. For one monitor’s 90-day uptime, add ?monitor= and the monitor’s name to the badge’s address:
https://api.monity.ai/uptime/status/<your-page>/badge.svg
https://api.monity.ai/uptime/status/<your-page>/badge.svg?monitor=Checkout%20API
When your account offers a custom domain, the dialog shows a Your own domain field. Enter a host name such as status.example.com, save, and add the CNAME record the dialog then shows at your DNS provider. Without that field, share the page’s app.monity.ai/status/ address.
Hide or delete a page
To take a page offline for a while, open Edit and switch off Published: the card marks it Hidden and its link stops working until you publish it again. Delete removes the page and its link for good; the monitors are not affected. Changing the Address also breaks links to the old one, and the badge.