Monitoring elements that require mouse interactions, such as menus, tooltips, or dynamic content, can be tricky. Monity’s Mouseover Automation feature allows you to simulate hovering over specific elements, making it possible to load and capture content that only appears when a mouse hovers over it. This ensures your monitoring setup captures every detail, even those hidden behind mouse interactions.
When to use Mouseover automation
Mouseover Automation is useful for:
- Dropdown menus: Menus or navigation elements that only appear when hovered over.
- Tooltips: Descriptive text or information boxes that are triggered by mouse hover.
- Interactive elements: Content that dynamically changes or loads upon hovering, such as images or product details.
Using Mouseover Automation allows you to interact with these elements, ensuring Monity can monitor changes accurately.
How to set up Mouseover Automation
Open automations settings:
- Go to the Automations tab in your Monity monitoring setup.
Add a Mouseover automation:
- Click the + button to add a new automation.
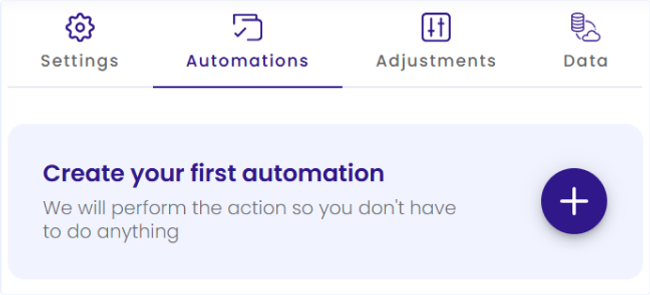
- Select Mouseover from the dropdown menu.
Specify the element to hover over:
- Use a selector to choose the element you want Monity to hover over. This tells us exactly where to simulate the mouse interaction.
- Make sure the selector precisely targets the element that reveals the hidden content.
Combine with other actions:
If additional interactions are needed (such as clicking on a revealed menu item), use Click Automation after the mouseover action.
Best practices for Mouseover Automation
- Combine with wait actions: If the hovered content takes time to load, add a Wait Action after the mouseover to ensure all elements are fully rendered before further monitoring actions.

